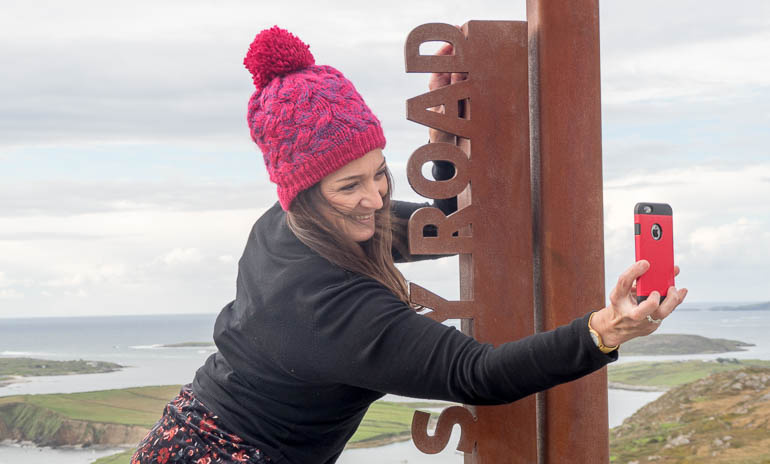
Where ever you go these days you will see people in beautiful or historic locations with their cameras pointing at themselves rather than at the scene in front of them. The rise of social media is the cause. And our need to tell people where we are, what we are doing, what we are eating, in the form of a photograph – the selfie!
In the past photographers would set up their camera pointing back at themselves and activate a timer. This would give the photographer 10 or 12 seconds to go back in front and adjust his/her clothing and posture before the camera shutter triggered. Smile!
But as cameras were added to mobile phones, along came a new breed of photographers who didn’t know what a tripod was and hadn’t a clue about the self timer mode. And as the numbers grew, so did social media, and so the new photographers just turned the phone around and photographed themselves. And then phone manufacturers adapted, so the lens appeared on the front and back of the phone and the rest is history. We now have a deluge of people taking photos of themselves. And we have manufacturers and innovators scratching their heads to come up with products that satisfy this need to photograph ourselves. The most popular gadget has been the selfie stick…an extendable pole with a phone mount on one end and a hand grip on the other.
But this method, like hand holding, always means the camera is connected to the body and sometimes the results show with an awkwardly extended arm. That’s why I still prefer the older and more traditional self-timer option. And you can get an app for your phone that adds a self-timer. All you need then is a minipod to hold the phone…unless you rest it on a table or shelf. Check out the minipods and supports on Photographyattic: Tripods and other camera supports
One of the most adventurous selfie products I’ve seen is the Air Selfie…recently announced with a pre order offer price of 260 Euros.
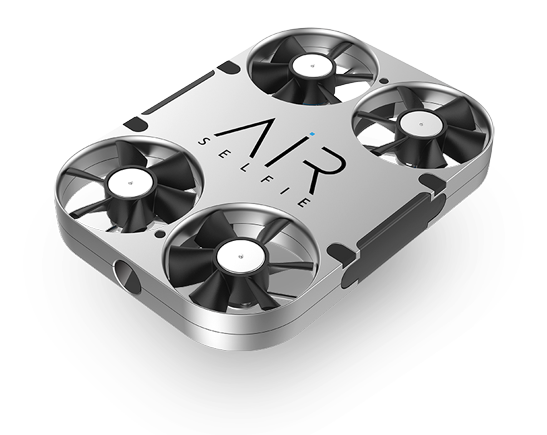
The AirSelfie is a pocket-size camera with a turbo fan that propellers to thrust the camera up to 20 meters in the air. It connects with your smartphone so you can take 5 MP HD photos or video of you and your friends from the sky. Possibly a little crazy price for most, but no doubt we will be seeing more aerial selfies in the future…especially when the Chinese copy the idea and knock them out on ebay for 39 dollars or so.
Occasionally I will write about interesting gadgets to help improve photography…today I introduce the Gorillapod.
A camera support is an essential piece of kit to prevent camera shake, which would result in blurred photos. Tripods ( a large stand with three legs) are common among enthusiast photographers, but they are bulky and often heavy. So manufacturers produce small alternatives, in the form of miniature tripods, pods, clamps, beanbags, spikes etc.
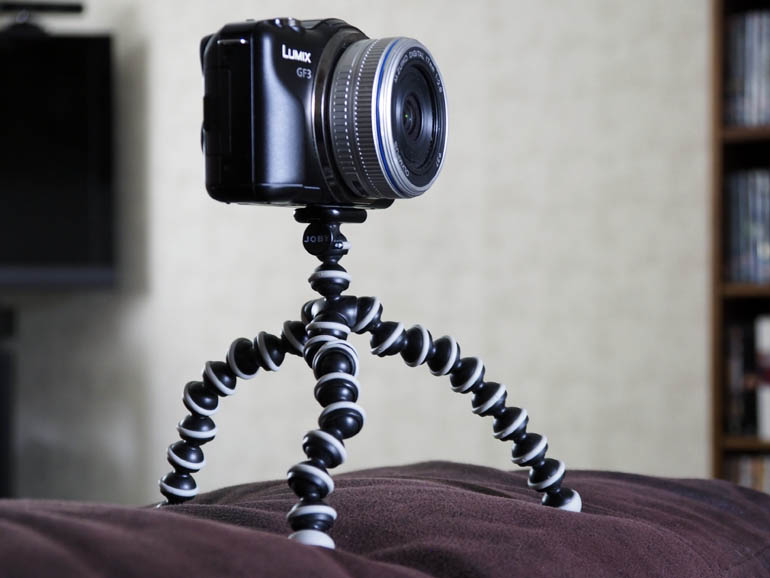
The Gorillapod from Joby is a unique version of a mini tripod. Yes it has three legs and can be used in the conventional tripod way , but the Gorillapod has a unique leg design made of several stacked ball joints that bend, allowing total flexibility.
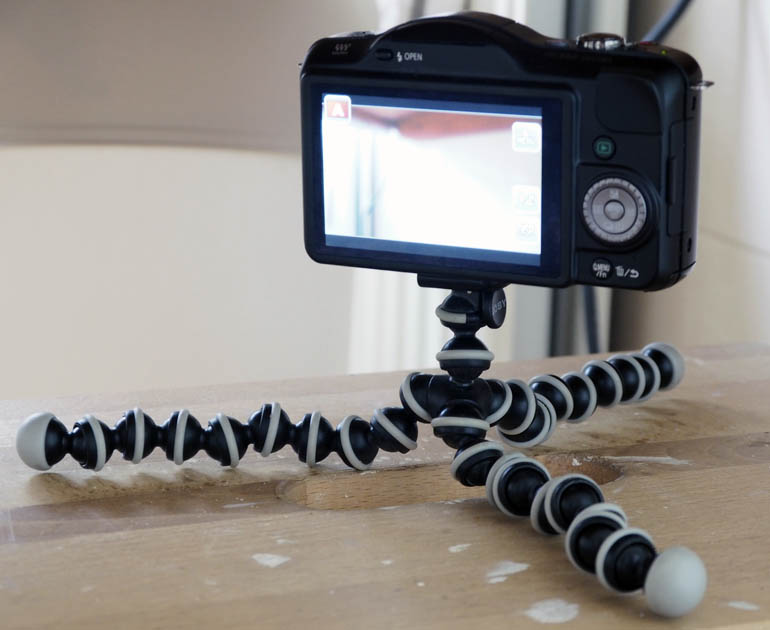
The design made from a gripping type of plastic means it’s not only good on a bench or table, but also on uneven surfaces and, thanks to the bendy legs, it can also be wrapped around a table leg, or tree branch to provide support in many versatile ways.
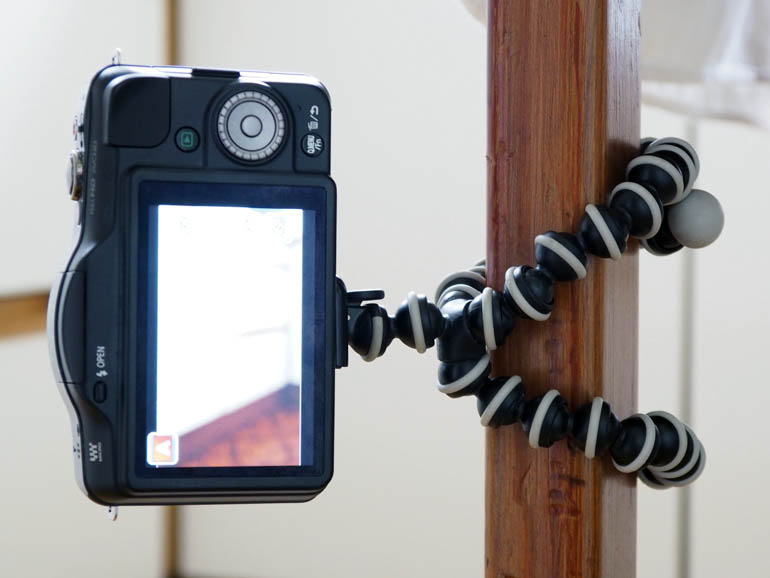
The one I’ve illustrated here is the compact model. It weighs just 45 grams so you’d hardly know you have it with you. It will support a compact digital camera or phone, but not an SLR. Joby also make larger versions for SLRs.
Check out other camera supports here
The best camera to use to photograph the moon is a Single Lens Reflex (SLR) camera. With this type of camera you usually have the most manual control, allowing you to fine tune focus and exposure to ensure a sharp and bright photo.
 The moon photographed with an SLR and telephoto lens
An SLR usually has an interchangeable lens so you can attach a long lens (telephoto) to magnify the moon to make it much bigger in the photo. A standard zoom of 18-55mm that is normally provided with an SLR is not really long enough. You can use a lens like this but you will have to crop the picture dramatically to make it any decent size on your photo. The more you crop the less detail you will have in the moon.
The best thing to do if you want serious pictures is to buy or borrow a longer lens. A 300mm or above is good – Ideally a 1000mm or longer. You can do this using a 500mm with a 2x converter. The teleconverter sits between the camera and lens and doubles (or trebles with a 3x) the lens’ focal length / magnification. With modern digital SLRs the sensor is smaller than film and gives an effective magnification of 1.5x/1.6x too, so the 1000mm becomes 1500mm /1600mm. This is perfect for frame filling photos.
You will also need a tripod or other support for the camera to avoid camera shake if you are using a long lens, and a cable release / remote control to trigger the shutter. If you don’t have a remote release set the camera to the self timer mode and use that. The reason to use a delay or release mechanism is to prevent any hand contact with the camera that could cause vibration and the possibility of camera shake. This will be more apparent when using extreme magnification lenses.
Position you camera on the tripod or mount and set the lens to its longest setting.
Switch the camera to manual focus and adjust focus around the infinity setting so the moon appears sharp. If your camera has live view, switch to that and use the magnifier to help you focus.
You cannot use the camera’s auto exposure mode (P) because it will be fooled by the black surround of the moon which is really bright. A shot taken on auto will result in a bright blob of a moon with no detail. You need to switch to manual (M) or use exposure compensation.
Although it’s night time you don’t need long exposures the moon is as bright as daylight. Set the ISO to 100, and the aperture to f/11 and the shutter speed to 1/500sec and take a test shot. Have a look on the LCD preview screen and see how the photo looks. If it’s too bright either increase the shutter speed to 1/1000sec and/or the aperture to f/16. If it’s too dark, reduce the shutter speed to 1/250sec and/or the aperture to f/8. Then take another photo. Repeat this until you have a perfect exposure.
See article on the Blood Moon


 The moon photographed with an SLR and telephoto lens