In the last article we showed you how to make a custom slide duplicator for 35mm negatives and transparencies. And the first problem you will encounter when you start scanning your colour negatives is how to convert the result to a positive digital file.
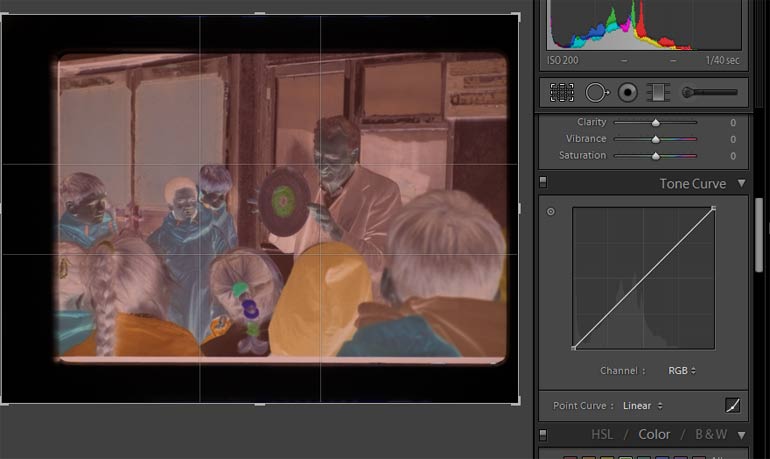
When you use a proper film scanner it has built in settings that convert the negative to positive automatically, but the digital files from a slide duplicator look just like the original – negative image with an orange colour.
We’ll not go into the colour – you can find all those technical details here: Why is colour negative film orange?
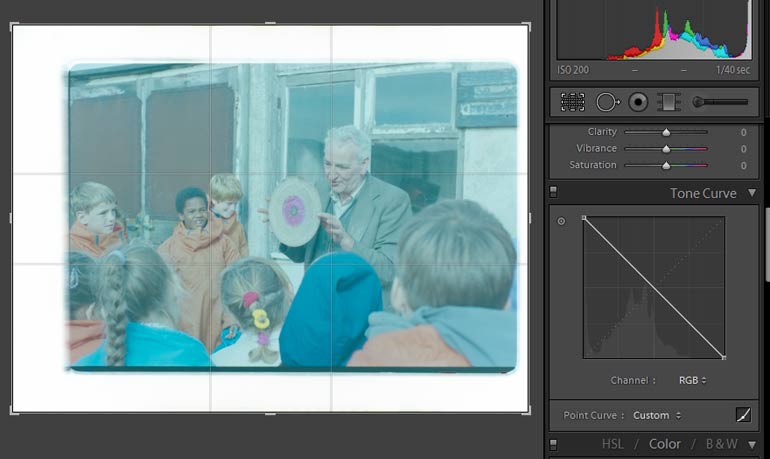
You may think it’s simply a case of pressing the invert button in your image editing software. That does make the photo look positive, but the orange inverts to a blue colour and that needs fixing.
Here’s how I process photos in Lightroom. You can do similar with most image editing programs.
Below is the imported negative in Lightroom. Scroll down to the tone curve. Notice the line in the graph goes from bottom left to top right.

Click on the bottom left corner and drag to top left, then click top right and drag to bottom right. This inverts the image – notice the blue cast.

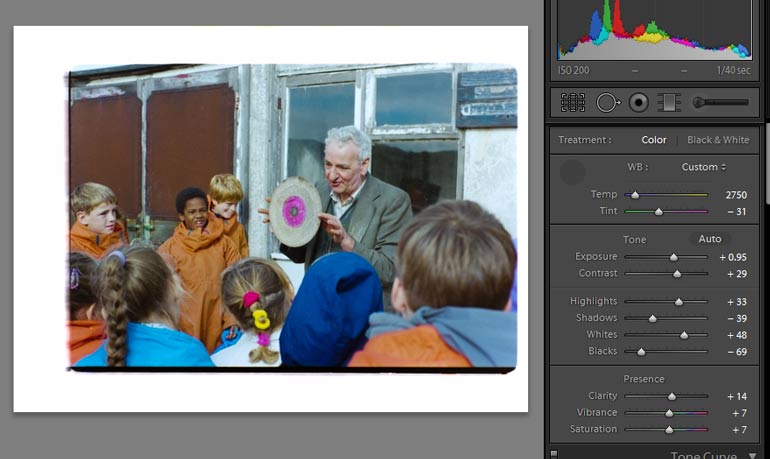
Using the WB dropper click on a neutral part of the image to adjust the white balance. I chose the black hair of the boy facing us. This makes the colours more natural. Now adjust the tone sliders to beef up contrast darken shadows and brighten highlights.

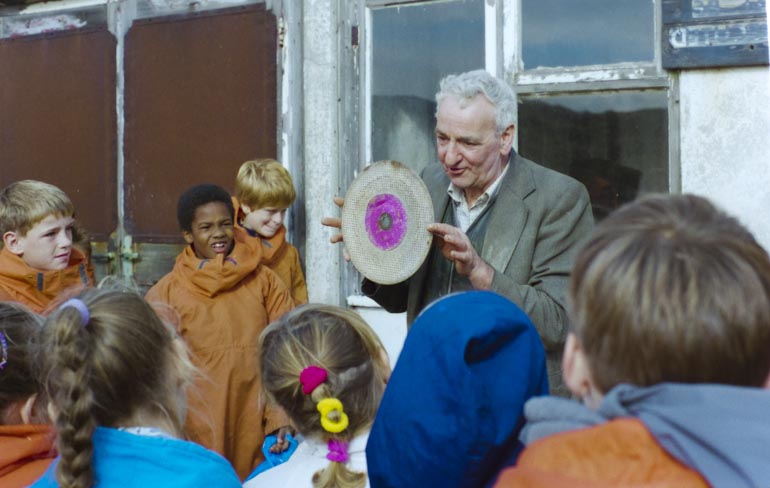
The result is a fairly good conversion of your digital negative
