To be successful with bird photography you either need a very long lens or a shorter lens with a remote control (or hide) so you can position yourself far enough away to avoid frightening the creature.
The long lens approach needs to be around 500mm allowing you to magnify the bird so it appears substantially more than a spec on the photo.
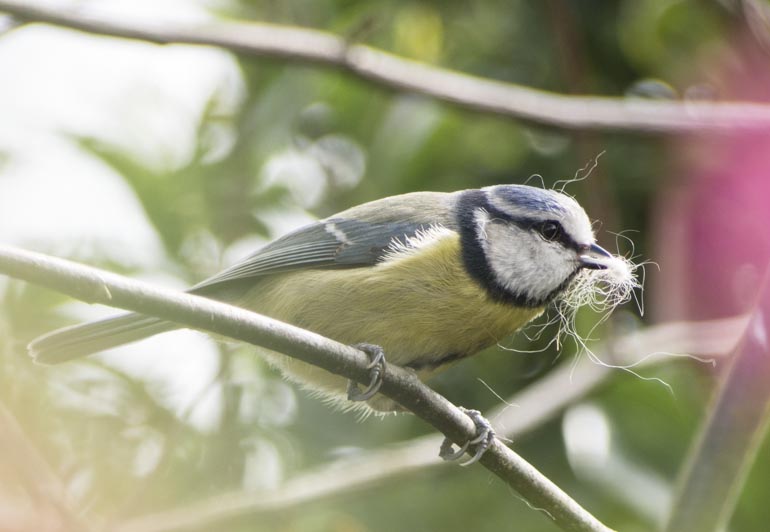
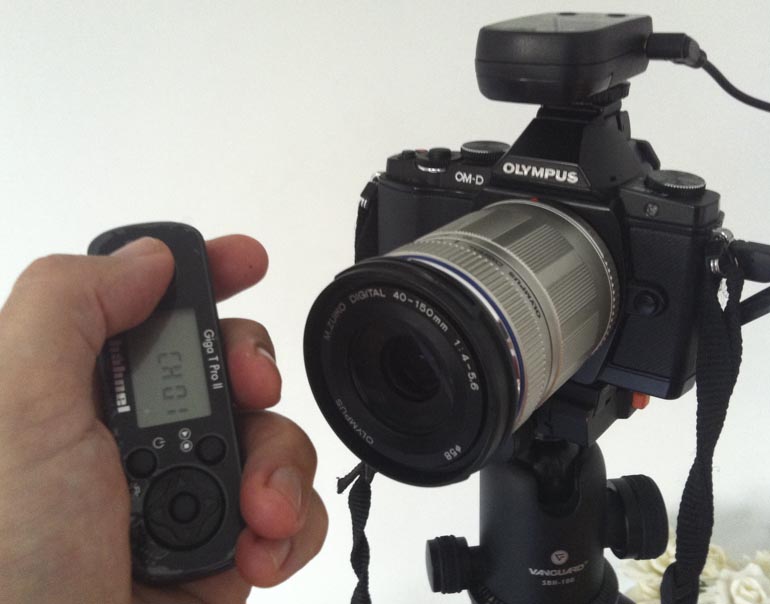
The shorter lens approach (300mm or less) and you probably need to hide (in a hide), or use a remote control. This is the approach I took for this shot of a blue tit preparing to nest in a box in the garden. I’d watched the bird’s activity for a few hours and noticed it landed on a particular branch of the nearby tree. So I mounted the camera (an Olympus OM-D EM1) on a tripod and focused on that particular branch. It was about a meter away from the branch and using the 40-150mm gave me a reasonable crop.
The focusing was set to manual so nothing could cause it to shift out of focus and the exposure was also set to manual adjusting to ensure that highlights on the bird wouldn’t be blown out.
I used a Hahnel Gigi T Pro II remote control and attached the receiver part on the camera flash shoe and plugged the cable into the camera.
I could then take the transmitter and sit out of sight, triggering the camera when the bird landed on the branch. To make things easier I used a pair of 8×21 binoculars. With these I could look at the bird and fire when it was in the right position, and then look at the camera LCD as it flicked up the preview of the shot just taken.
To get a cleaner background you should ensure that any background bush is further away from the landing position, also use a large aperture to reduce depth-of-field.
If you don’t have a modern camera with an electronic socket for a remote release you can buy an air release with a bulb to trigger the camera via the cable release socket.
Here are some cable releases and remote controls

